Pin Up Girl Painting: Step by Step
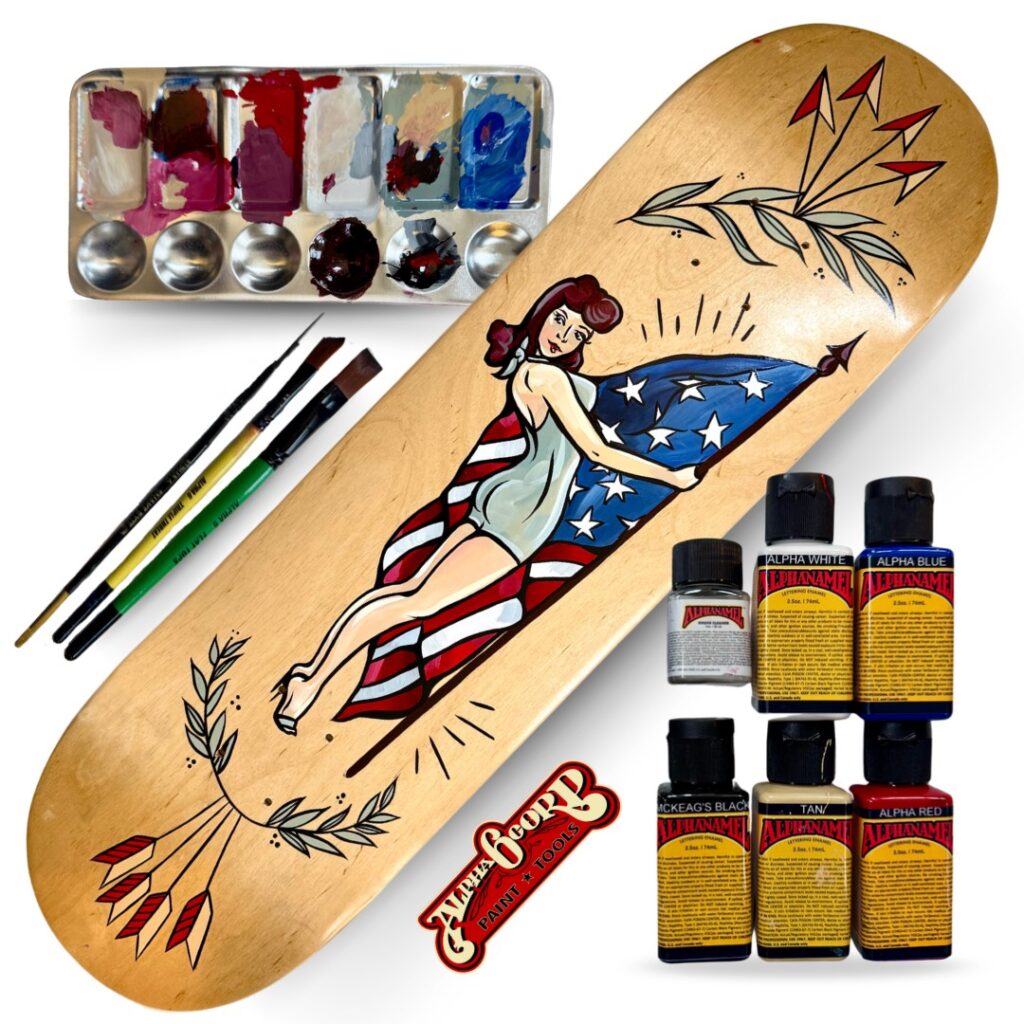
Get EVERYTHING you need to create this step by step pin up girl painting with the new, Artist Series DIY Kit, I designed in collaboration with Alpha 6 Corporation. Exclusively sold here: https://alpha6corporat…
I also suggest having additional mixing cups and a magazine for mixing paint on.
To follow along with a detailed video tutorial, head over to my YouTube Channel (be sure to subscribe for more upcoming lessons!)
Today, we’re going to be painting this very traditional inspired pinup with an American flag on a real skateboard deck.
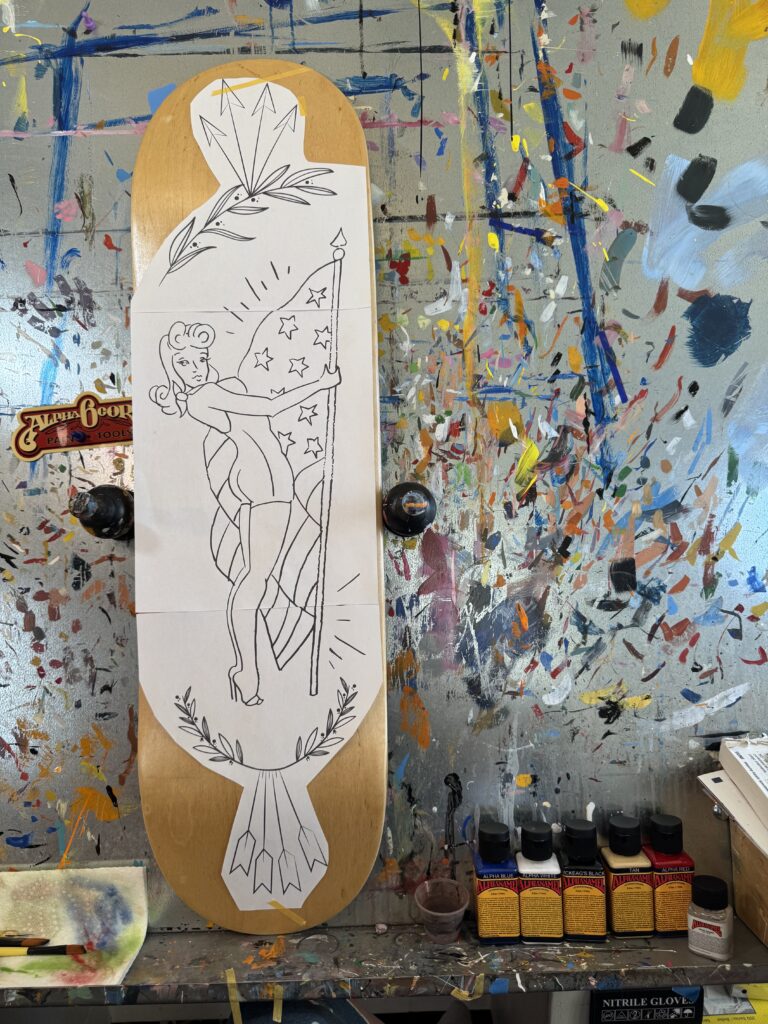
Step 1: Surface Prep & Traceable Transfer
For this step by step pin up painting, prep your board by cleaning it with household window cleaner and/or denatured alcohol to remove grease, dirt, and wax.
Using painters tape or masking tape, you can tape the top and the bottom of your drawing to your skate deck. Be sure the black carbon paper (also known as tracing paper) included with your kit is facing the chalk side against your board. Slide it under your drawing using the metal scribe that came with your DIY painting kit or a colored pencil you’ll want to trace over the entire pinup drawing. Everywhere that you press will transfer the black chalk lines onto the skate deck.
*Pro tip: I like to use colored pencil if I know my focus will be broken. This way, I can see where I’ve already traced if I have to stop and come back to the project.
Upon removal of your drawing, you’ll see that all the lines have been transferred in chalk to your skate deck. These can be easily washed off with water at the end of your work. Until then, they’ll act as great guidelines for painting.
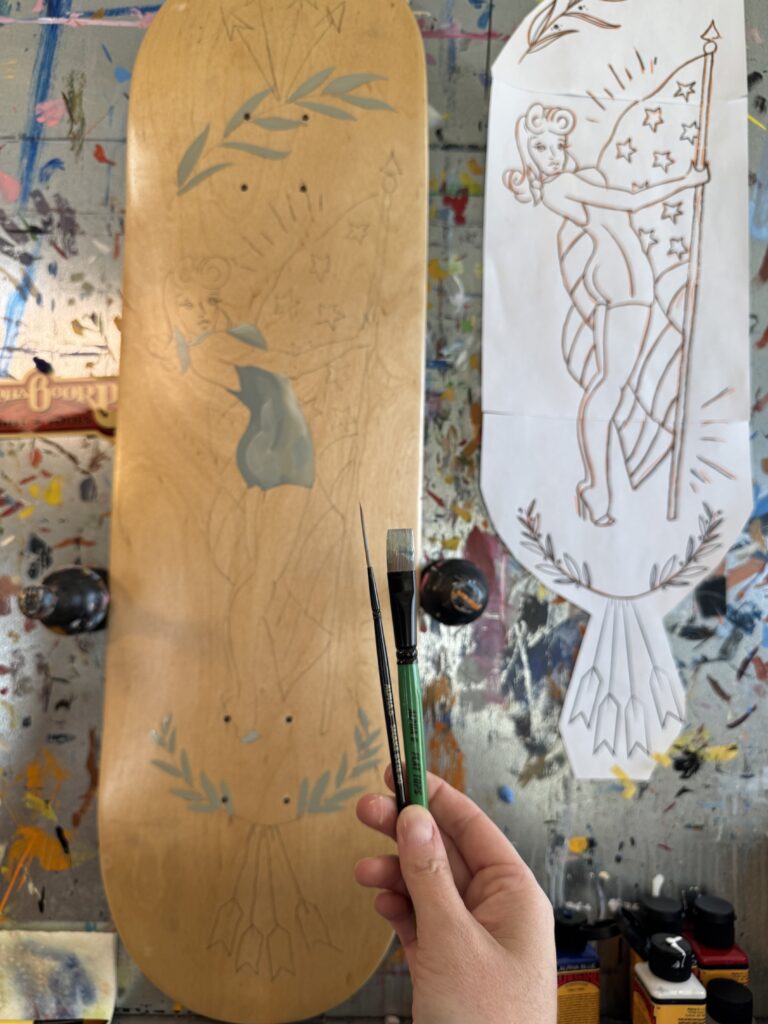
Step 2: Green Leaves & Bathing Suit
Mix a green color for the leaves and her bathing suit using blue, tan, and a little bit of reducer. Mix the colors together on your palette with the Snake Bite brush (it’s the skinny black one that comes in your DIY Kit).
Without washing your brush, add white paint to your palette and mix it into the green color for the leaves. To add this color to her bathing suit, switch to the large green brush. If you need to make some more green paint go ahead and do so with tan and blue.
Grab a bit of that green color on one corner of your brush and a little bit of white on the other corner of your brush so that both colors are on your bristles at the same time. This technique will give you the opportunity to shade her bathing suit with one singular brush stroke. As you apply the bristles to the skate deck, the colors will blend together. This is what’s called wet on wet mixing. Using the same brush without washing it, you can add highlights and low lights using white and blue.
Pro tip: Don’t be too much of a perfectionist in this step because it will all come together in the end with the black outlines!
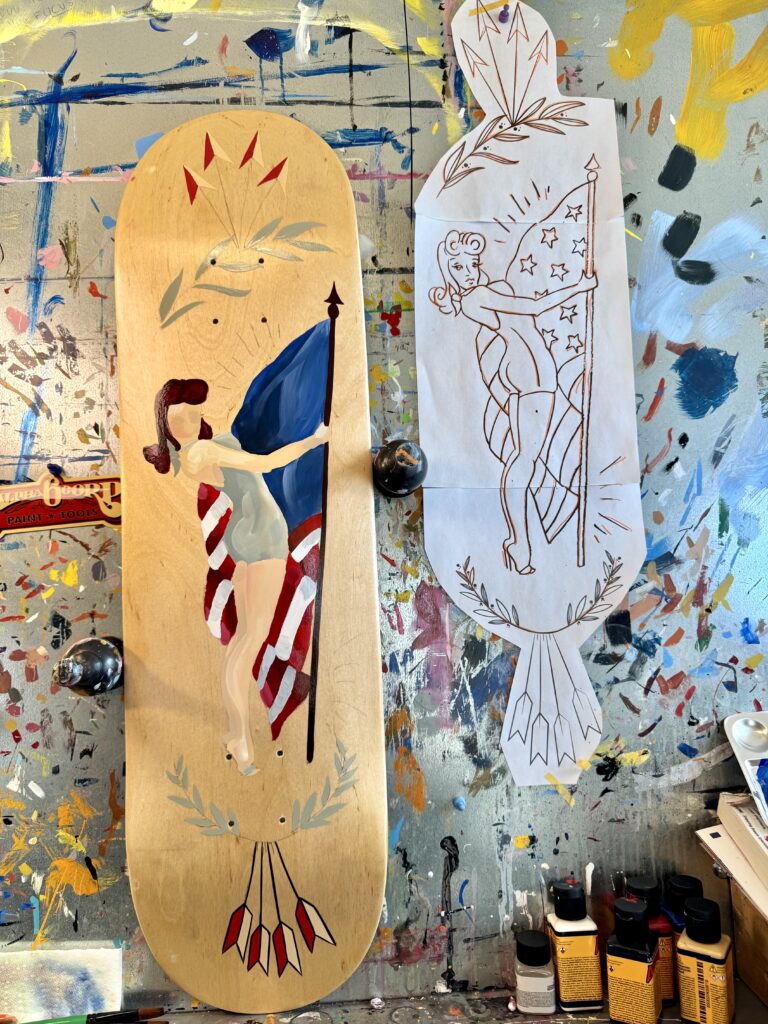
Step 3: American Flag (Paint whatever flag you want!)
Begin the American Flag with the straight-from-the-bottle blue color. Go ahead and paint in the whole shape. Without washing your brush, you can add a little bit of black for the shadows and the folds. Then again, without washing your brush, you can add a bit of white for the highlights and the folds.
If you’re worried about free-handing the stars with a paintbrush, go ahead and paint around the star shapes that you traced. Otherwise, it’ll be totally fine to paint the whole shape blue, wait for it to dry, and then add the star shapes with your brush later.
Using the same large green brush (after giving it a good wash), paint the red stripes in using the red paint. The same goes for shading and highlighting these stripes; Add black to the red while it’s still wet to give it shadows and add white to the red to give it highlights
Once this step is done, be sure to let all the colors dry before adding white to the stripes of the flag.
After your entire piece has dried, you can take your large green brush and begin filling in the white areas of the American flag. You can see that I add a tiny bit of blue to my palette as well as a little bit of black. Adding these two colors into your palette while your brush is still dirty with the white paint will give a little bit of depth to the white stripes of your flag.
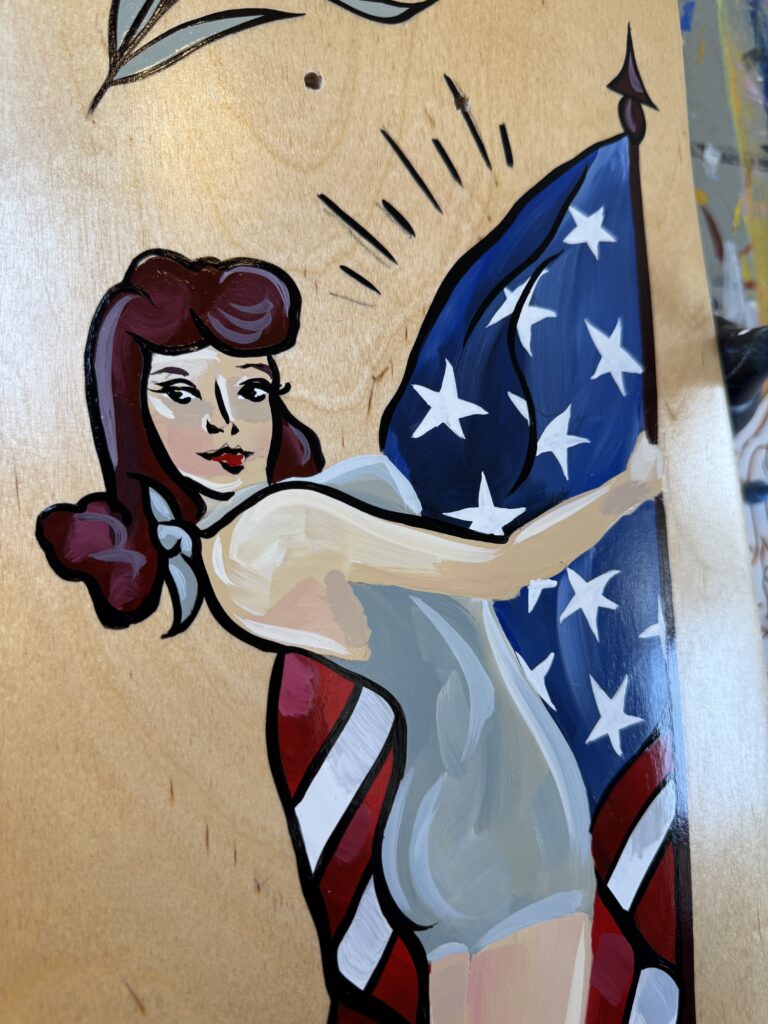
Step 4: Skin Tone & Hair
Using tan, red, and white and either the green or the yellow brush in your kit, paint in all of the shapes where her arms and legs are, including her face (Don’t worry about painting over your previously traced lines as we will add them back in soon). You can add white to your brush to give her limbs highlights. With tan and red make a nice light pink, perfect for her cheeks. You can bring this color throughout the rest of her body, as well.
For her hair, I switched up my brush to the smaller yellow one, and I dipped it in red and black to make almost a dark maroon brown. Adding a touch of white to this color gives her curls some highlights.
Step 5: Arrows
You can paint arrows whichever color you would like. I used red and tan with the Snake Bite brush for both the top bottom of the board
Step 6 (Optional) : Cut & Trace Stars and Face
If you’re not familiar with this paint or your brushes, I encourage you to do step six. Wait till your entire painting is dry, then cut her face and the flag image off of your traceable. Tape the cut outs to the deck and then trace over them again using the carbon paper for a transfer.
Step 7: Fine Lines & Details
This is your last step! You’ll use primarily your Snake Bite brush. Begin by filling in all of the stars with white paint.
With the same brush and white paint, add the whites of the pin up’s eyes so that they can dry before we add any outlining. Just add a bit of tan to your already dirty white brush to add skin tone highlights. With a little bit of blue mixed in you can do a couple of quick highlights on her bathing suit, too!
Pro tip: Turn your canvas around as needed, to easily reach certain areas of the work. You can also utilize a Mahl stick (This is the one I use) or a yardstick, to rest your hand on if the paint is still wet and you need to get to a certain detail on the canvas without resting your hand in the paint.
The most rewarding step is cleaning up all your shapes with the harsh black outline. This part will be the longest step because you’ll be outlining every small shape on your painting.
For all of these details, it’s important to rely on the entirety of the brush. Don’t rely on just the tip of the hairs! Instead, make sure you’ve palleted (pushed) the paint up into the hilt (handle) of the brush. If you’re still having issues with the paint flowing freely from the bristles, add a little bit of reducer to your black paint.
Once you’re through outlining her face with the black color, clean your brush and then dip just the tip of the hairs into some clean red paint. And with a slight touch of red to her lips, you’ve officially completed your painting!
These designs are owned by Asphalt Canvas Custom Art © Remember you can grab everything you need for this project in our new Artist Series DIY Painting Kit!
The DIY Painting Kit links are affiliate links. This means if you click through and purchase the item, I will receive an affiliate commission at no extra cost to you. Please be sure to share your painting with me by tagging @asphaltcanvas on socials and let me know if you have questions or get stuck!
If you enjoyed this post, you may like my “Step by Step Tail Light Painting”

Leave a Reply