Pink Tail Light: Step by Step
Get EVERYTHING you need to create this step by step painting with the new, Artist Series DIY Painting Kit, I designed in collaboration with Alpha 6 Corporation.
I also suggest having additional mixing cups and a magazine for mixing paint on.
To follow along with a detailed video tutorial, head over to my YouTube Channel (be sure to subscribe for future lessons!)
Step 1 Pink Wash:
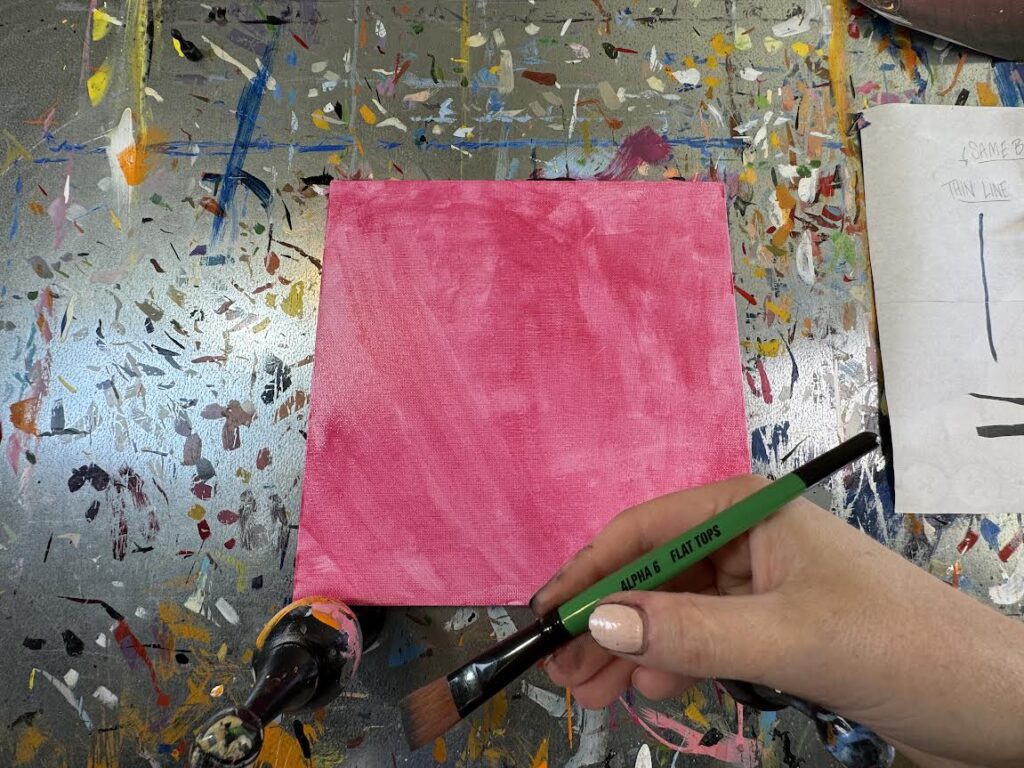
Use your Alpha 6 Flat Top (Large) Brush from your DIY Painting Kit, plus hot pink paint, and a little bit of reducer to cover the white canvas in a wash of pink color. It’s important to let this wash of color dry thoroughly before step two.
While your canvas is drying, you can practice making thick and skinny lines using the same brush on a separate piece of material. I just used computer paper to show how you can lay the bristles down flat for a thick line and turn the brush sideways for a skinny line. These line techniques will come in handy later in the painting.
Step 2 Transfer Sketch:
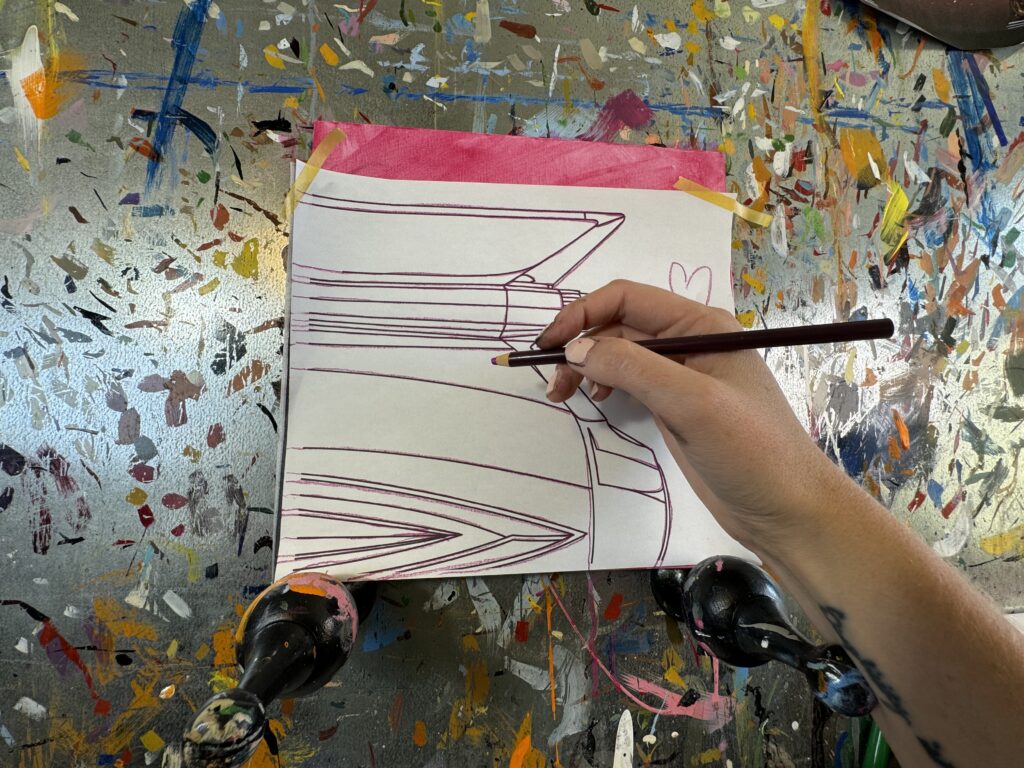
Once your canvas is dry, you can tape the outline of the tail light that comes with your DIY Painting Kit to your canvas at the top. Slide your carbon transfer paper underneath, with the darkest side facing toward your canvas. Using a colored pencil so that you can see where you have drawn, trace over the lines of the taillight. Everywhere you press down with your pencil will transfer the carbon black lines onto your canvas.
Step 3 Black Shapes:
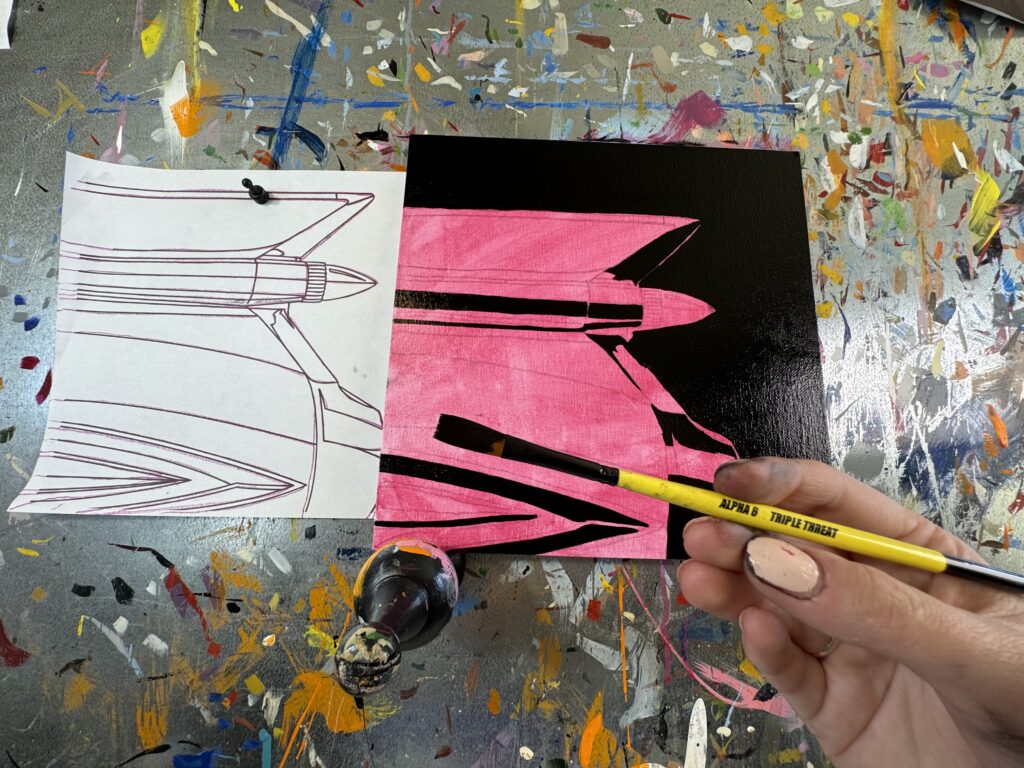
Once your drawing is transferred to the canvas successfully, you can remove the outline and begin painting.
We start by filling in the black background to get familiar using the brushes. Pour a generous amount of Alpha black onto your pallet and paint the entire background black with the large brush. Be sure that there are no drips and if you are having issues with the paint moving freely over the canvas, add a tiny drop of reducer to your paint.
Wash your large brush and set it aside. Using, the Alpha 6 Triple Threat brush (medium brush), fill in all the small shapes of black on the car. This is a good opportunity to use your brush both flat on the canvas for thick lines, and turning it sideways for the skinny lines, as you may have practiced in the beginning.
Step 4 Red Tail Light:
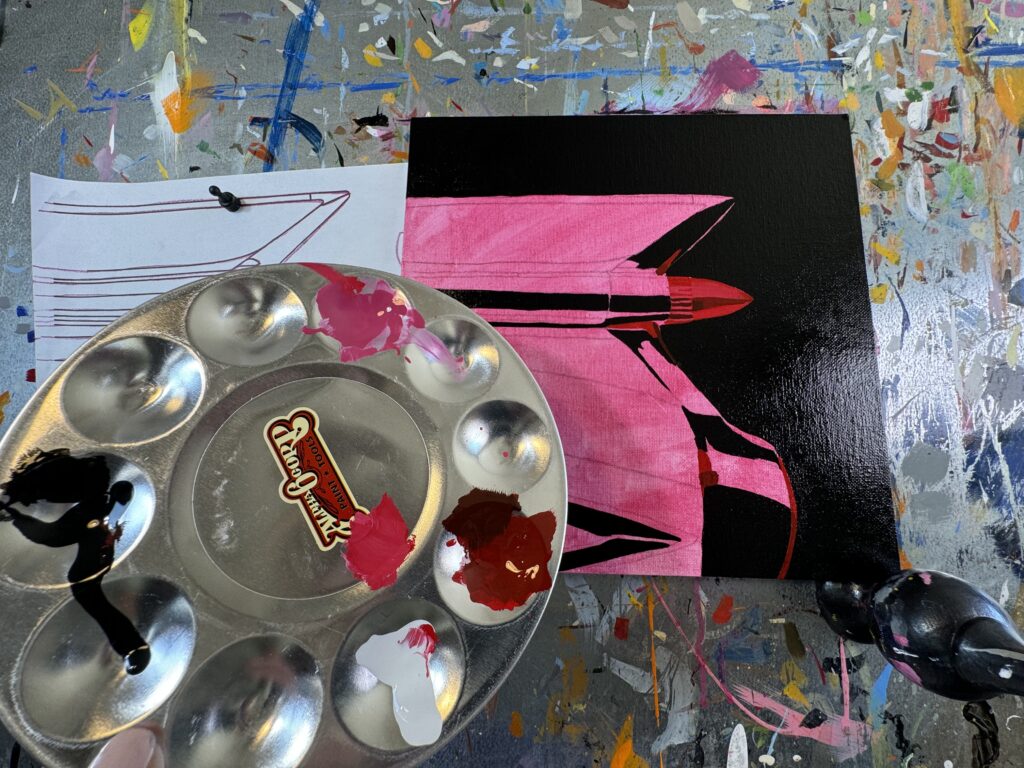
Wash the black out of your medium sized brush. Pour a small dollop of red paint onto your pallet to begin painting the tail light and small reflection areas of the chrome. Using your medium brush, fill in the cone shape of the tail light with Alpha red paint. While the paint is still wet, and without washing your brush, you can mix a tiny bit of black paint into the red paint on your pallet to create a dark red shadow color. Apply that to the lower portion of the cone shape on the tail light. Follow the picture to see where the top and bottom red reflections are in the chrome pieces. Remember, chrome looks different at every angle, so if yours looks a little bit different than mine – it’s OK.
Step 5 White Highlights (2 Coats):
Be sure to wash your brushes thoroughly for the next step as we will be using only Alpha 6 white paint.
*To clean your brushes, pour a little bit of reducer into a separate cup. Pinch off excess paint from the bristles with a paper towel, then wiggle the brushes into the reducer until most of the paint is gone from the bristles. If you’re waiting a long period of time between each layer, I would also suggest making sure you oil the hairs of your brushes after they are clean to protect them. Alpha 6 offers a brush conditioner that works well, but if you have engine oil laying around, that will work for the time being. Just be SURE to clean your brushes with reducer and/or Mineral Spirits before using them in the paint again!!
I also suggest that you wait about 30 minutes to allow the red and black shapes on your tail light to dry a little bit. Although this is optional, it does make it easier to fill in the shapes. Using only white paint with a little bit of reducer and your medium brush, fill in all of the areas where white is needed on the chrome. You may need two coats in this step for ultimate coverage – if that’s the case, give the paint an opportunity to dry before adding a secondary layer on top to avoid a goopy looking painting.
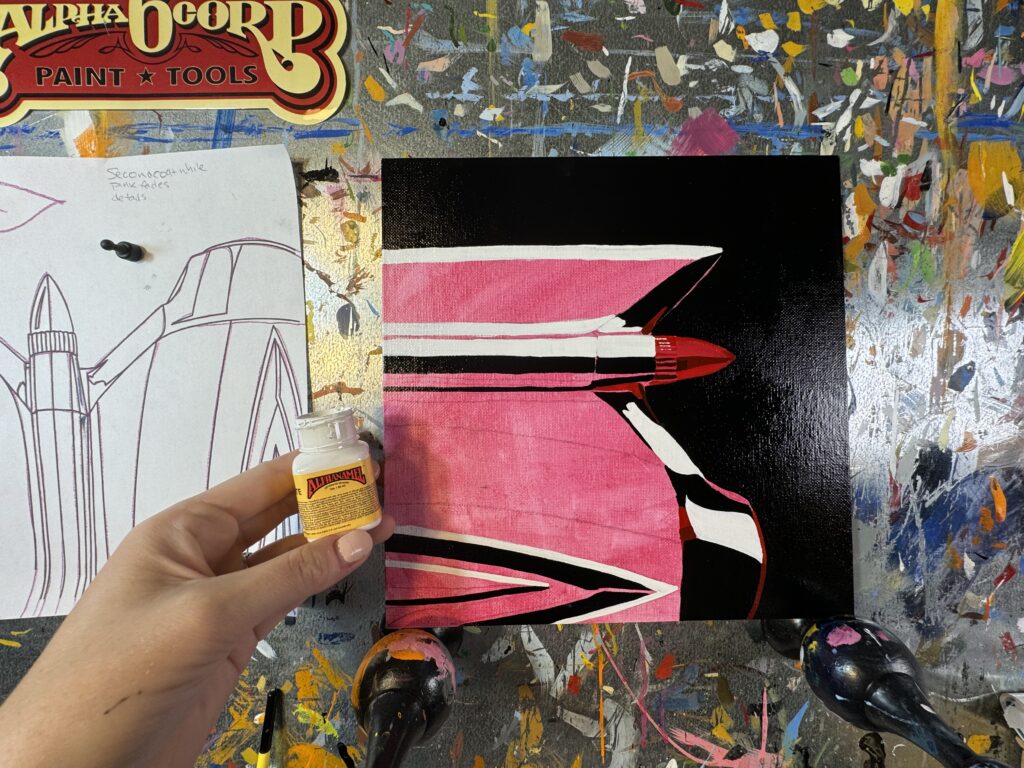
Step 6 Shadows:
Using hot pink and black, make a dark purple looking color on your pallet. I use the medium size brush to mix the paint and then change my brush to the smallest Snake Bite brush in the set to add the color to the canvas. You can add a little bit of reducer to the color you made so that it flows nicely on the canvas. Add the dark purple color above and below the highlights on the tail light body line and lower trim.
Our first fade (optional) is done under the tail light body line using hot pink and black again. Switching back to the medium brush, dip half of your bristles into the pink and half of your bristles into the black on your pallet. Blend these colors together on your magazine page by moving your brush back-and-forth so that colors organically fade together. Once you get the hang of blending two colors together with a singular brush, you can dip your brush back into the pink and the black, each at an angle, and do that technique on the canvas where the shadow is supposed to be. If you would like to forgo this fade, you can just paint this area with the dark purple color.
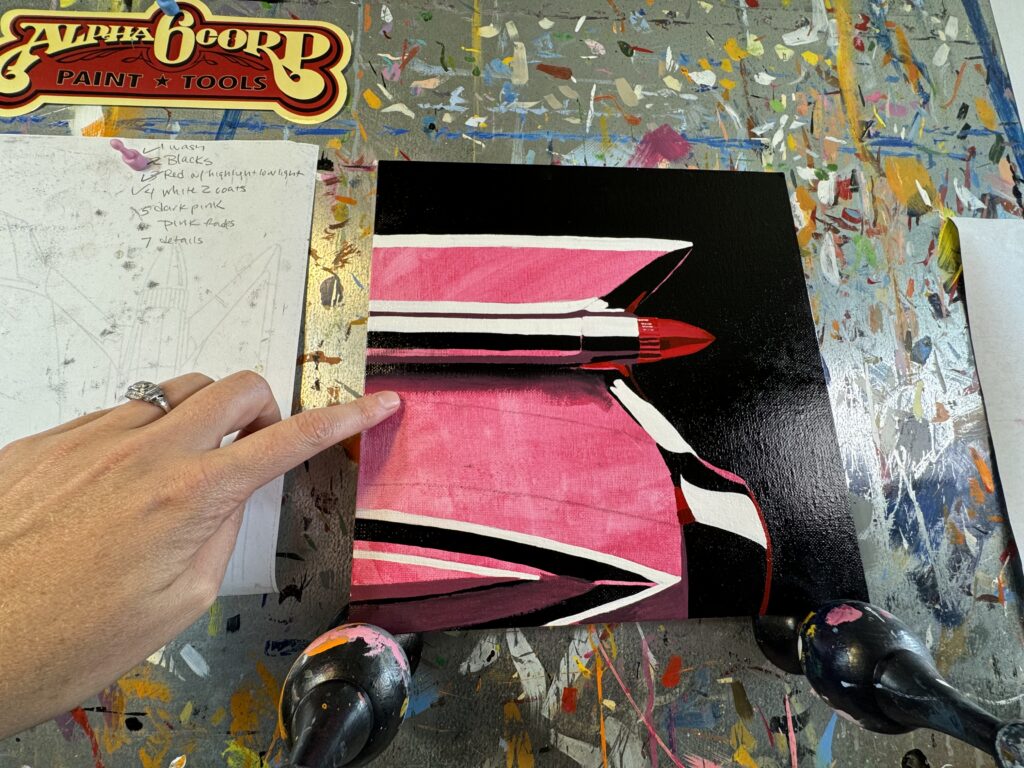
Step 7 Sherbert Pink Fade:
Pour a quarter size of sherbet pink and a quarter size amount of white onto your pallet. Be sure to have your magazine page ready as well. Using your large clean Flat Top brush, we will apply a light pink fade to the upper fin of the car. Have some clean reducer ready.
Paint the entire upper shape of the fin with the sherbert color. While the paint is still wet, and your brush has the sherbert pink paint on the bristles, go directly back to your pallet and pick up a little bit of white. On the lower half of the shape, paint the white into the light pink color and watch the two colors blend together.
You may need two coats for this step. I personally always like two coats of paint so that the final work ends up being very vibrant.
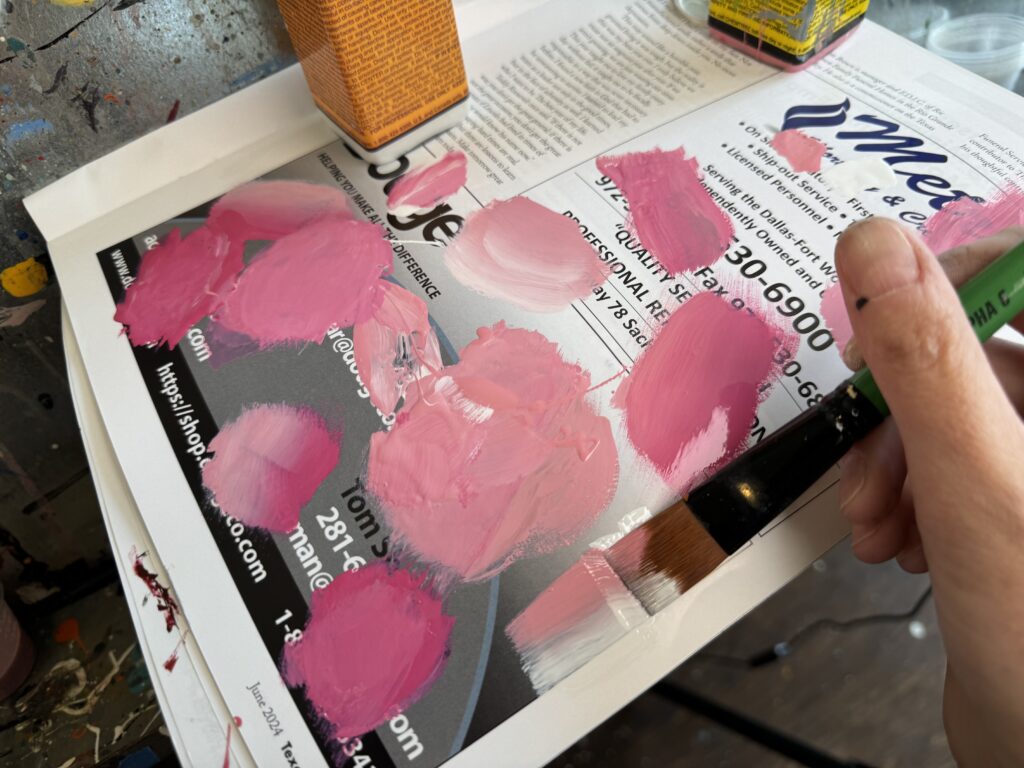
Step 8 Hot Pink Fade:
Clean your large brush again. Pour a hot pink, sherbet, white, and a little bit of black onto your pallet. We will be using these colors for the large unpainted area of the car and a few of the remaining unpainted trim lines.
Dip your large flat top brush into a generous amount of hot pink and paint half of the large shape on the body of the car, solid hot pink. Without washing your brush, dip the bristles into the sherbet pink and apply the same type of fading technique (like we did on the upper portion of fin) to the remainder of the shape.
Like the light pink fade, we may need to paint this shape twice, so use the first layer as a practice round in getting your fade the way you want it- from dark to light. Let the layers dry in between, for optimal coverage!!
Using your Snake Bite brush and hot pink paint, fill in the remaining areas of color on the tail light body line and the lower trim pieces.
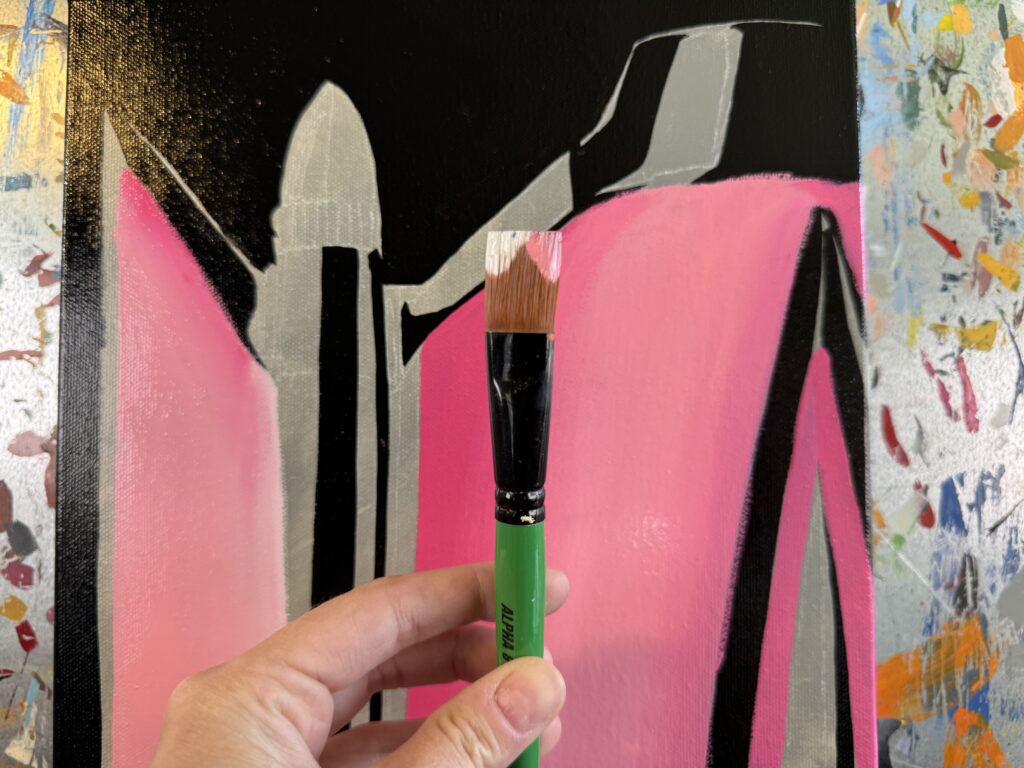
Step 9 Snake Bite Details:
This last step is all about the details and cleaning up your shapes! Be sure that your canvas is completely dry. For me (in Texas) that’s about an hour. We will be using the Snake Bite brush exclusively for this last step. Poor a little bit of each of the colors from your set onto your magazine page or your pallet, if you still have room.
You can add some great detail lines on the tail light ridges using your small brush and a little bit of white.
Give your white shapes and black shapes crisp, clean edges and corners using your Snake Bite brush with either color and a little bit of reducer.
Turn your canvas around as needed, to easily reach certain areas of the work. You can also utilize a Mahl Stick (This is the one I use) or a yardstick, to rest your hand on if the paint is still wet and you need to get to a certain detail on the canvas without resting your hand in the paint.
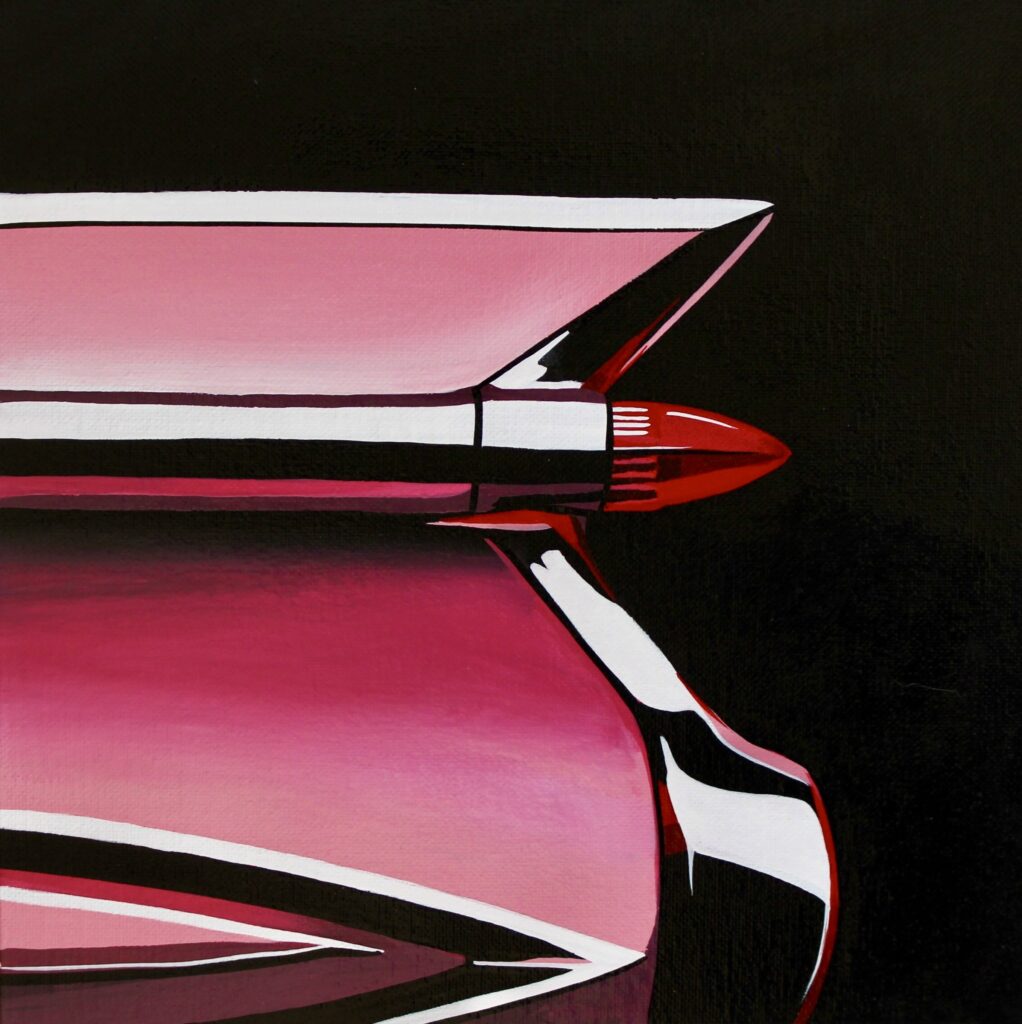
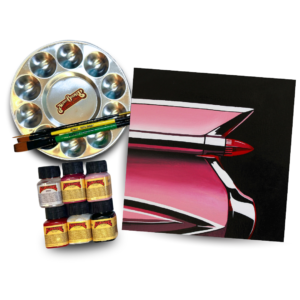 These designs are owned by Asphalt Canvas Custom Art © Remember you can grab everything you need for this project in our new Artist Series DIY Painting Kit!
The DIY Painting Kit links are affiliate links. This means if you click through and purchase the item, I will receive an affiliate commission at no extra cost to you.

Leave a Reply