Create and Release an Art Series in 5 Phases
 After creating my first series of paintings, I realized there was a sense of “work flow” as I moved through my to-do list of what had to be done to create the series, curate an online release, and host an official art show. I broke down my process into 5 essential phases that I felt procured the successful launch of my art series, “She’s Been Everywhere, Man!”
1.Creation Phase

In this step I came up with a theme and design parameters for an overall series. The theme and parameters for my latest She’s Been Everywhere Series included the shape of my canvas for each painting and the primary content within the paintings; Female figure, car, location.
Helpful tip:
Setting parameters around a theme or idea for a series of artwork gives you direction for how to design each painting so that they all feel like they could “fit” in the same gallery show. I once heard “artistic parameters” described as bumper walls down a bowling alley lane. Ultimately, the bowling ball is only guaranteed to stay in the lane and hit the pins if it has bumper walls to guide it all the way there. Otherwise, there is a chance the ball ends up in the gutter! Design parameters you can set for yourself include: size, shape, color pallet, imagery, and inspiration story.
I sourced inspiration images and created small thumbnail sketches for each painting I wanted in the collection. Then I worked on the final pencil drawings and purchased the canvases I was going to paint on. I recommend buying all the canvases at once. This not only ensures that you will have all the product you need to create the series, but it also makes the seemingly unreachable goal of creating a series very possible and exciting!

After all the sketches were transferred to their final canvases, I loosely painted the shapes in all of them in two days to see how all the colors would roughly look together when all the canvases where side by side. Some artists work on their series paintings in an interchangeable way, working on one painting one day and then another painting in the collection the next. For my She’s Been Everywhere Series, I painted one piece until it was done and then moved onto the next.
This phase can take anywhere from four months two years. You can set the timeline!

1A. Product Phase:
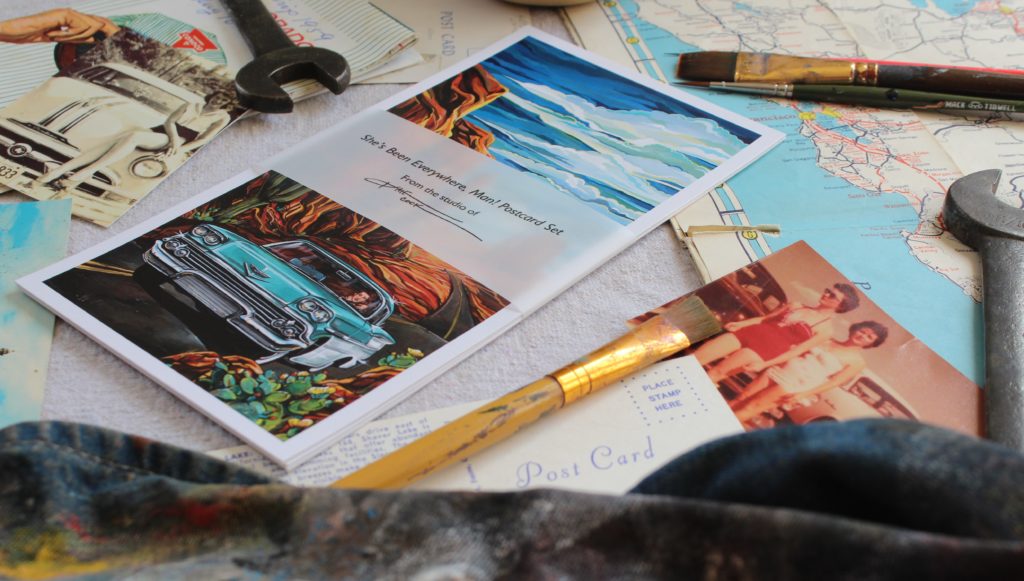
After each painting was completed, I took it to my local print shop to have it professionally scanned. This gave me the files I needed to have the print shop create prints, posters, and post cards of the artwork. It was kind of a juggling act, but worth the time because by then end of the phase 1, The Creation Phase, I had all of the artwork, prints, posters and card sets in my studio ready for the photography phase.
2.Photography Phase

The photography part of any series actually has two parts:
-
During the artwork in progress:
I was sure to take pictures and video of the artwork in progress. This was an important step for posting sneak peak videos and photos of the artwork that I was working on to my social media pages. It allowed my followers to watch the paintings come to life and gave them the opportunity to feel a part of the process. This created hype around the release of the collection early on! I found another great way to share these images was through a private Facebook group I created just for this specific series creation. You can join the She’s Been Everywhere Facebook HERE!
-
After the work is complete:
It was not in my budget to have the work professionally photographed, so I set my Canon camera on automatic, did some research on how to take photos of artwork, and did my very best to capture professional looking, well-lit images of each painting and all of the products I had made for the series. For each listing I was going to make for my online shop I tried to capture 5 images
- Full painting/pro scan
- Close up detail of the work
- Angled image of the edge of the painting
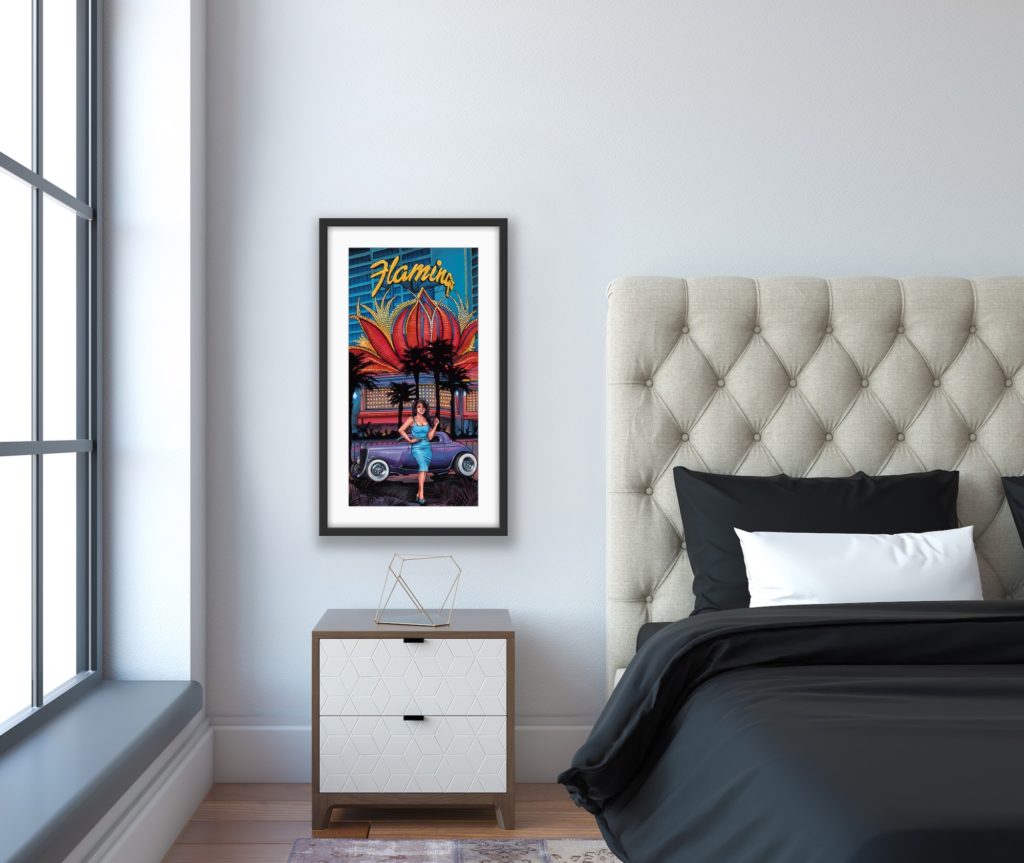
- An “in room” photo of the art hanging on the wall
- Me holding artwork for a size comparison
This stage took about 14 days to complete.

Helpful tip:
Each painting has a folder on my laptop with its process photos, professional scan, inspiration photos, and blog post, and price tag.
3.List and Catalogue Phase:

Once I had the artwork, photos, files, and products done it was time to add everything to my website in an online shop! It’s also important to catalogue your work, especially for an in-person show. This only means you have a document (even if its on your phone) that states the size, medium, and price of each painting, as well as the number of products you have to sell. This way you can keep track for future inspiration and sale comparisons.
Helpful tip:
Don’t forget to purchase your shipping supplies prior to your release date! I measured all of the artwork and products in my series and purchased shipping tubes, stickers, and review post cards around this phase so that I would be ready for online sales, post launch! I also created tags for all the things I would be selling in relation the series at the in-person show and had them laminated.
I have a WordPress site so I chose WooCommerce as my website shop platform. With each painting or product listings I included a title, a detailed description of the artwork (size and medium), price, shipping information, the stock amount, and the photos I mentioned above. Lastly, instead of talking about the artwork inspiration in the description of the listing, I linked each listing to a specific blog post where I wrote about the work.
This stage took about 8 days to complete.
Helpful tip: If you use a point-of-sale device at in-person shows, such a Square, be sure to create listings, including your shipping costs, through that platform prior to your show!
4.Release Phase

Before I moved forward, I STOPPED. In this phase, I took the time to soak up the fact that I actually accomplished a goal, that at times, felt completely impossible. I spent one solid afternoon on our back patio with a favorite beverage, full of gratitude, and defined in my journal what my success with this collection would look like for me, physically, emotionally, and financially prior to the release date. More on that in another blog post…
-
In person release/ art show:
For the in-person art show, I found a venue to host the show and then created show flyers on Canva to pass out to local businesses and friends. I had also created paper invites to mail to my custom art clients. I made sure to create an exclusive event on Facebook and my website to advertise when and where the show would take place. I also advertised in advance and hosted a giveaway at my art show booth where people signed up for my newsletter as an entry into the giveaway!
-
Online release:

I designed a “landing page” on my website just for the “She’s Been Everywhere, Man!” release that highlighted the video I shot of myself talking about the artwork, my online shop, and the blog I built around the series. In addition to the custom landing page, I made a total of 10 newsletters that I scheduled to send sequentially to my subscribers that shared details about the upcoming release and the art itself. I even hosted an online giveaway in those emails! I had the pleasure of being a featured guest on two podcasts where I was invited to talk about the artwork and release date.
I started sending newsletters and posting to social media about the release about two months in advance. Keep in mind, some of these phases can merge into one another as you start to finalize the launch.
5.Post Release Phase
The launch date came, the art show was a hit, and I was happily overwhelmed to see the successful sales of my paintings and products, online and in-person. Afterward, I gave myself time to rest so that I could reflect on the what went well and what could have gone better! Because I had pre-determined and purchased my shipping supplies, I was able to ship artwork to its new owners all while I started to dream up the next series.
Helpful tip:
Don’t forget to MARKET the heck out of your current series by creating social media posts, blog posts, and newsletters around your current collection of work even after the release date. This is also a great time to approach galleries and shops to see if they would like to display your originals in their spaces for sale.
__________________________________________________________________________

Overall, this was the most enjoyable way for me to create a large and highly detailed collection of artworks in a fairly short period of time. The number one reason for this was because I was able to block my time into specific weeks where I was doing one certain task, rather than being pulled in ten different directions (i.e. go to post on social media, go the post office, or create a new listing) all in one day.
I went through this entire process without any kind of guidelines. Now that I’ve found these 5 organic steps to work through for the next art launch, I know that the process will be even more streamline and that really motivates and excites me to get started on my next art series idea. I hope it does the same for you! Let me know in the comments!
 If you found this information helpful, you may enjoy
Leave a Reply